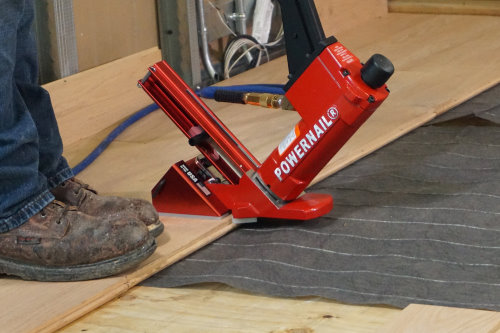
Installing radiant heat under wood floors

Who doesn't love a gorgeous wood floor in their home? The classic styling, luxurious look and solid feel are all things that any homeowner can enjoy. But when the temperature drops outside, a wood floor can become cold and uncomfortable. Turning up the forced air heat in most homes will get a room warmer but at the expense of wasted energy, noise, irritating dryness and floors that remain cold. Smart homeowners, on the other hand, have discovered a way to have warm wood floors while keeping their entire room warm and inviting.
Radiant underfloor heat by ThermoSoft is the intelligent choice for home heating. Our systems utilize the latest technology and are rugged, reliable and effective. Installing a radiant heat system under your wood floor is a straightforward and simple process. It can be done in less than a day and without any special skills or tools. Let's take a look at how easy it is to install the ThermoFloor® and WarmStep® systems under your wood floors.
Layout first
The first step is to create a layout plan. Spending a little bit of time determining how to position your radiant heat system and its dimensions will save a lot of time later. You can do this part yourself or have ThermoSoft help by creating a CAD layout of each room.
Insulation and placement
Next, if you are installing the WarmStep® system, you will need to attach the underlayment to the subfloor. The underlayment ensures that the radiant heat system does not project heat into the subfloor or foundation. This reduces the amount of energy required by directing the majority of the energy upwards into the room, rather than down into the ground. You can skip this step if installing the ThermoFloor® system because the underlayment is built into the heating mat. Both WarmStep® and ThermoFloor® are delivered in a roll - just like a carpet - that you can unfurl into position on top of the underlayment or subfloor.
Electrical connections
Once the system is in place, the next step is to install the floor temperature sensor and run the lead wires to your house's electrical source. The temperature sensor ensures that the maximum temperature of the floor does not exceed the manufacturer's limits for safe heating. Without a sensor, excessive heat could warp or damage a floor. If the included lead wires are not long enough to reach the power source, ThermoSoft provides lead wire extensions up to 20 feet long.
At the electrical connection box, attach the thermostat and lead wires. If you are unsure how to do this, consider having a qualified electrician handle this task. The thermostat is critical to the proper operation of your radiant heat system because it regulates how warm your room will be and how much power the floor heating system will consume.
Securing and covering
At this point, all that remains is to glue the thermal mat to the subfloor and then glue the wood floor on top of the thermal mat. After the glue dries, cover the wood floor with the manufacturer's recommended flooring material.
As you can see, the installation process is very straightforward and uncomplicated. ThermoSoft makes installation even easier by providing special kits with all the accessories required to upgrade your home with radiant floor heat. For step-by-step assistance, ThermoSoft specialists are available by phone seven days a week.